


 All Articles
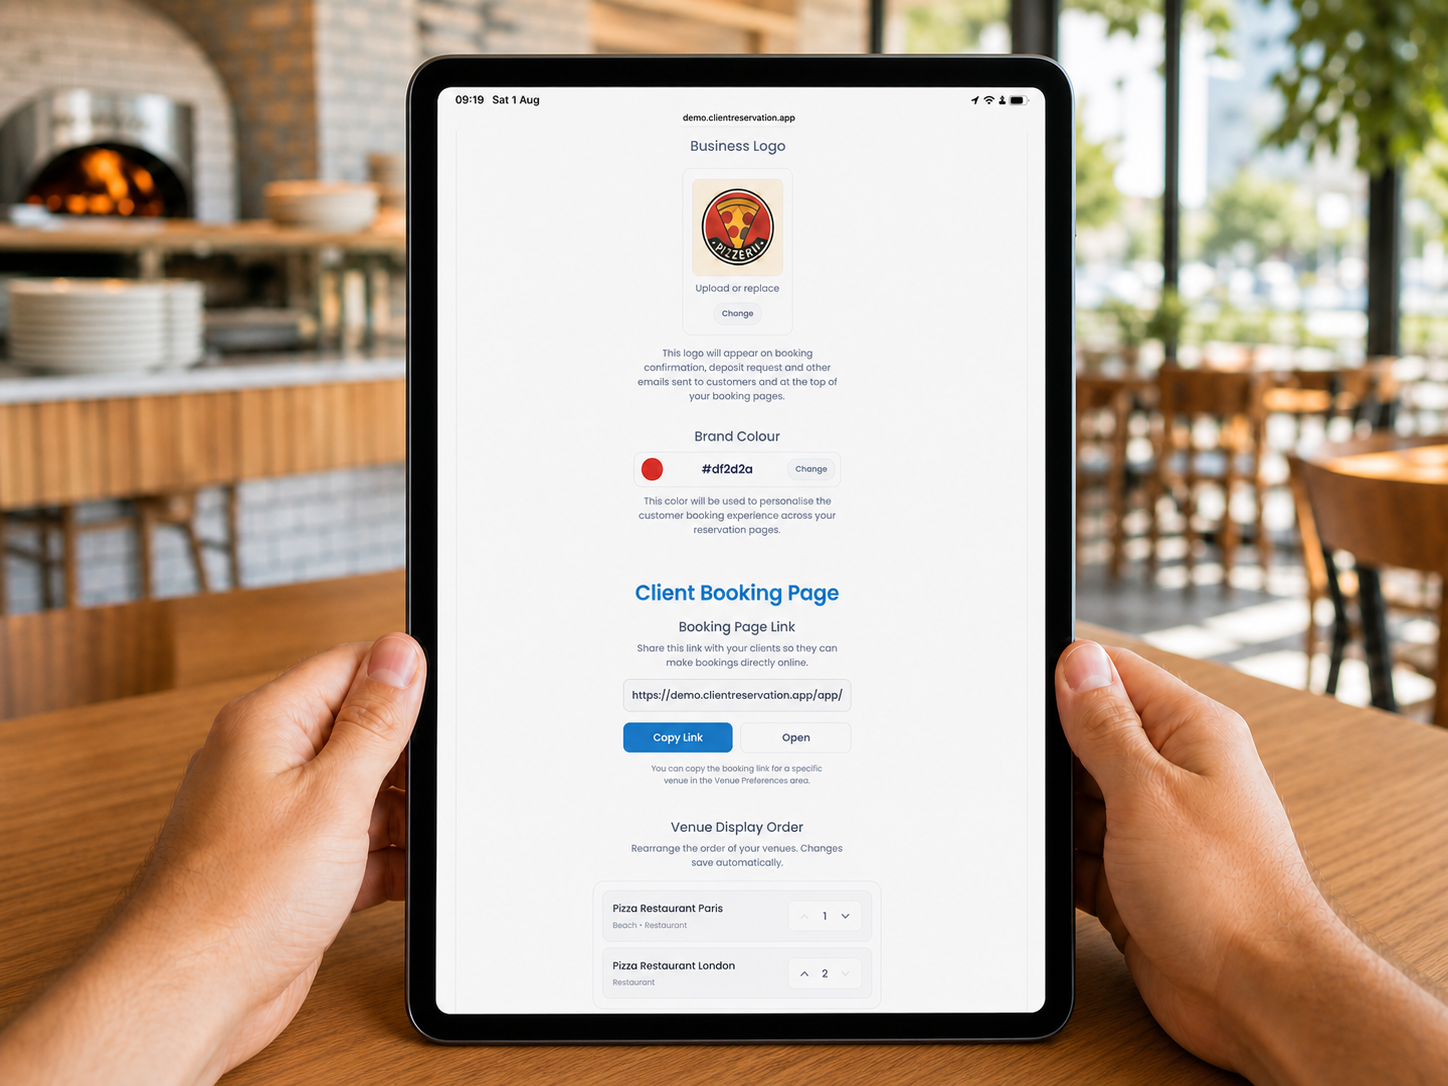
How to Add Your Business Branding
The Settings page allows you to personalise the customer booking experience with your company name, website, logo, brand colour and contact details.
These are business-wide settings, so changes can affect all of your customer booking pages and communications.
1. Open the branding settings
- From the Home screen, select Settings.
- Scroll to Business Details near the top of the page.
You can also use the magnifying-glass button and search for options such as Company Name, Business Logo or Brand Colour.
2. Change your company name
- Find Company Name under Business Details.
- Select the field and enter the name you want customers to see.
- Select outside the field when finished.
The company name is saved automatically.
3. Add your website
- Find the Website field.
- Enter your business website address.
- Use a complete address where possible, for example:
https://example.com - Check that no validation warning appears beneath the field.
- Select outside the field to save the website.
If the website address is not valid, the field is highlighted and a message asks you to enter a valid URL.
4. Upload your business logo
- Find Business Logo.
- Select the logo upload area or Change if a logo has already been added.
- Read the Image Safety Check notice.
- Select Choose Image to continue.
- Choose a JPG or PNG image from your device.
- Wait while the image is processed, uploaded and checked.
- Confirm that the new logo appears in the preview and that Successfully Uploaded is displayed.
Your logo will appear:
- At the top of your customer booking pages.
- In booking-confirmation emails.
- In deposit-request emails.
- In other supported emails sent to customers.
The logo is saved as part of the upload process. There is no separate Save button.
5. Logo requirements
Only JPG and PNG images are supported. Animated GIF files cannot be uploaded.
Use an image that you own or have permission to use. Every upload is automatically checked against the platform’s content-safety requirements and may be rejected if it does not pass.
For the clearest result, use a high-quality logo with enough space around it. PNG is usually the best choice when the logo requires a transparent background.
6. Replace your existing logo
- Select the existing logo area or the Change button.
- Select Choose Image after reviewing the safety notice.
- Choose the replacement JPG or PNG file.
- Wait for the upload and safety check to complete.
- Confirm that the new image appears in the preview.
The new image replaces the logo currently used on booking pages and customer emails.
7. Change your brand colour
- Find Brand Colour beneath the logo settings.
- Select the coloured circle or Change.
- Choose a colour using your device’s colour picker.
- Confirm that the colour swatch and hexadecimal colour code update.
- Close the colour picker or select outside the control to save the change.
The selected colour is used to personalise your customer-facing reservation pages.
8. Enter an exact colour
If your business has an official brand colour, you can enter its hexadecimal code directly:
- Select the text containing the current colour code.
- Enter your brand’s three-digit or six-digit hexadecimal value, such as
#2386c6. - Check that the colour swatch updates to the expected colour.
- Select outside the field to save it.
If the swatch does not update, check that the code contains only valid hexadecimal characters and has either three or six digits.
9. Add customer contact information
The Contact Information section appears further down the Settings page. These details are displayed to customers on your booking pages, and all fields are optional.
- Scroll to Contact Information.
- Enter the customer-facing number in Phone Number.
- Enter the customer-facing address in Email Address.
- Select outside each field after editing it so the change is saved.
Use contact details that customers are permitted to use for questions about their reservations.
10. Set the marketing reply-to address
The Reply-To Email field controls where replies to email marketing newsletters are sent.
- Find Reply-To Email under Contact Information.
- Enter the email address that should receive customer replies.
- Select outside the field to save it.
This can be different from the general customer-facing email address. For example, your booking pages could display reservations@example.com, while newsletter replies are sent to marketing@example.com.
11. Preview your customer booking page
- Find the Client Booking Page section.
- Select Open to launch your main customer booking page in a new tab.
- Check that your company name, logo, brand colour and contact information appear correctly.
- Return to Settings if anything needs adjusting.
To share the page with customers, select Copy Link. A link for an individual venue can also be copied from that venue’s Venue Preferences.
12. Before leaving the page
Confirm that:
- Your company name is spelt and formatted correctly.
- Your website opens successfully.
- The correct logo appears in the preview.
- Your brand colour matches your business identity and remains easy to read.
- Your customer phone number and email address are current.
- The reply-to address reaches the correct team.
Most text and colour changes are saved automatically after you finish editing the field. Logo changes are saved once the upload and safety check complete.