


 All Articles
How to Create and Design a Marketing Email
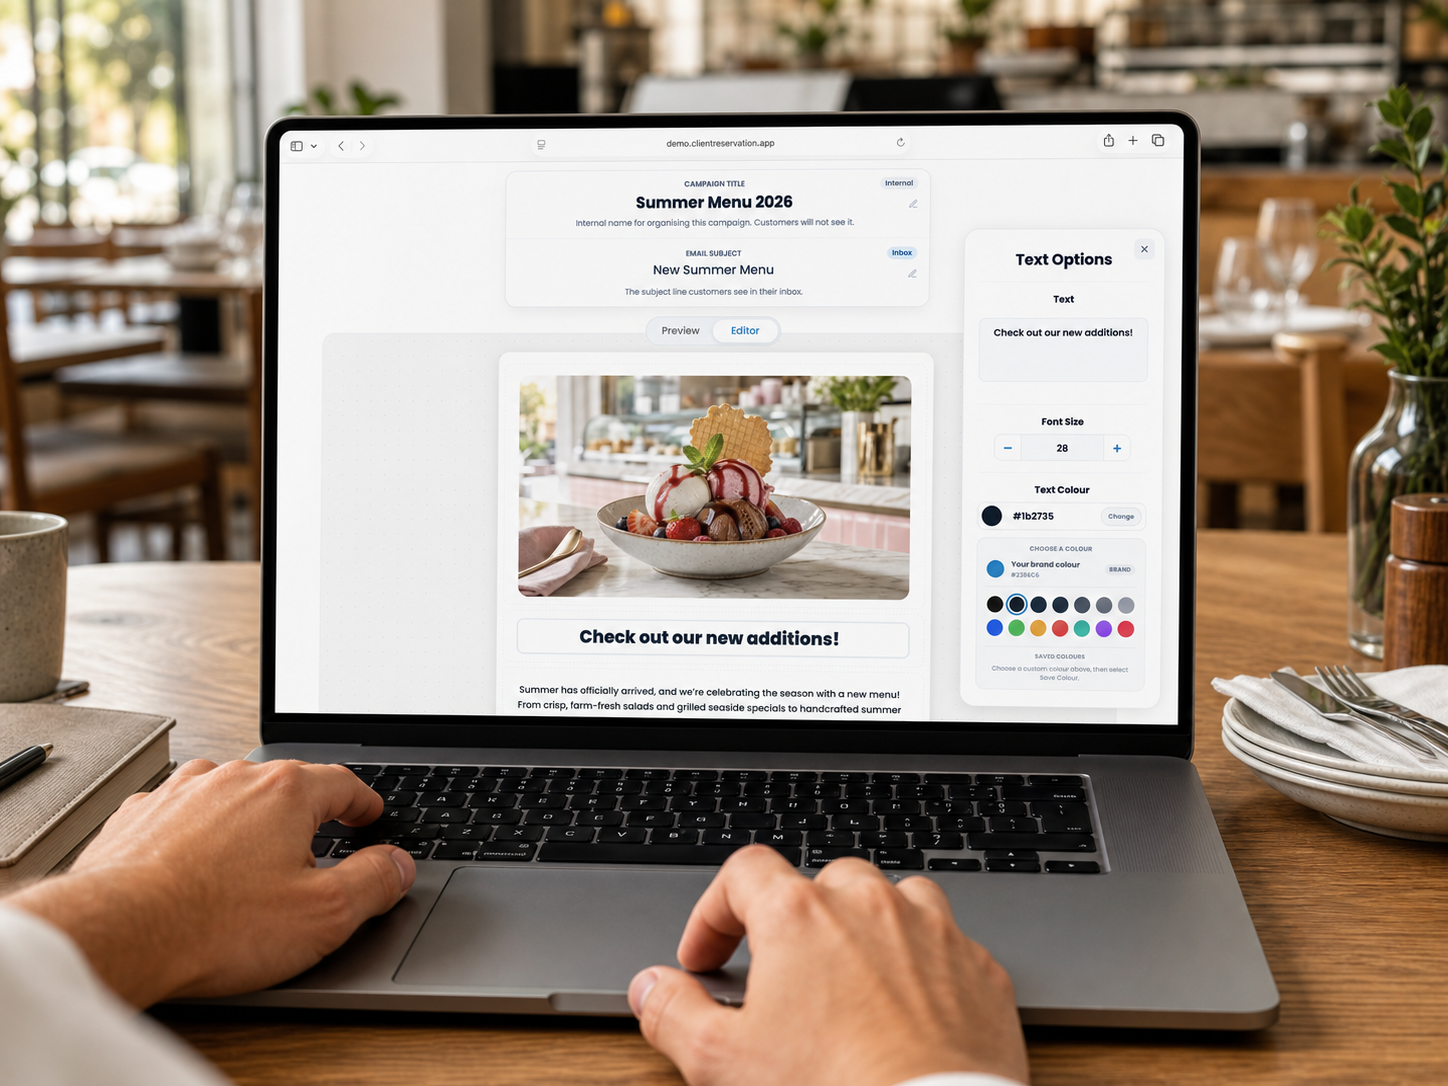
Client Reservation’s built-in email builder allows you to create branded marketing emails using text, images, buttons and spacing blocks. Campaigns are saved as drafts while you work, so you can leave the builder and return later.
This guide covers creating and designing the email. Audience selection and campaign analytics are covered in separate articles.
1. Create a new campaign
- From the Home screen, select Marketing.
- Select New Campaign.
- Enter a Campaign Title.
- Enter the Email Subject.
- Select Next to create the draft and open the email builder.
The Campaign Title is an internal name that customers will not see. Use a recognisable title such as August Summer Event. The Email Subject is customer-facing, so keep it concise, such as Join us for our summer celebration.
2. Understand the email builder
At the top of the builder, you will see:
- Campaign title: The internal name of the campaign.
- Email subject: The subject displayed in customers’ inboxes.
- Preview: Shows how the finished email will appear.
- Editor: Allows you to add and edit content.
- Send: Provides options to send a test or begin sending the campaign.
- Campaigns: Returns to the main campaign list.
The email automatically uses your saved business information, including your company name, logo and brand colour where supported.
3. Change the campaign title or subject
- Select the Campaign title or Email subject at the top of the builder.
- Edit the text.
- Select outside the field when finished.
- Allow a moment for the change to save.
The campaign title and subject can be changed while the campaign remains a draft.
4. Add content to the email
- Select Editor.
- Find the content toolbar beneath the email.
- Select the item you want to add:
- Title: Adds the largest text style.
- Heading: Adds a section heading.
- Subheading: Adds a smaller heading.
- Body: Adds standard paragraph text.
- Image: Adds an image block.
- Button: Adds a call-to-action button.
- Spacer: Adds space between sections.
- The new item will be added to the email.
- Select the item inside the email to open its editing options.
- Select Done after editing the item.
You can add more than one of each item type.
5. Edit text
- Select the Title, Heading, Subheading or Body block you want to edit.
- Enter the required wording in Text.
- Adjust the Font Size using the plus and minus controls or by entering a size.
- Choose a Text Colour.
- Select Done when finished.
The preview updates as you make changes. Keep paragraphs relatively short and use headings to make the email easier to read on smaller screens.
6. Choose text and button colours
When editing a text or button block, you can enter a hexadecimal colour code, use the colour picker, choose your business’s brand colour, select a saved colour or save a custom colour for reuse.
- Select the content block.
- Open its colour options.
- Choose an existing colour or select Change to use the colour picker.
- Check the result in the email.
- Select Done.
Choose colours that remain easy to read against the email’s background.
7. Add an image
- Select Image from the content toolbar.
- Select the new image block.
- Choose an image from the available gallery, or select Upload.
- If uploading, choose a supported JPG or PNG image from your device.
- Wait for the upload and image safety check to complete.
- Select the approved image.
- Add optional Alt Text describing the image.
- Select Done.
Alt text improves accessibility. Use a useful description such as Outdoor restaurant terrace overlooking the sea, rather than Image 1. Only upload images you own or have permission to use; uploads are automatically checked and may be rejected if they do not meet content-safety requirements.
8. Replace an image
- Select the existing image block.
- Select Change Image.
- Choose another image from the gallery or upload a new one.
- Update the Alt Text if the image’s content has changed.
- Select Done.
Replacing an image changes only that image block in the current draft.
9. Add a button
Buttons can direct customers to your booking site, a specific venue or another destination.
- Select Button from the content toolbar.
- Select the new button block.
- Enter the Button Label, such as Book Now, View Menu or Learn More.
- Choose the button colour.
- Open Link Destination.
- Choose Booking Site, Venue or Custom Link.
- If using a custom destination, enter its address in the link field.
- Use the open-link button to check the destination.
- Select Done.
Always test every button before sending. A button without a valid destination should not be included in the final email.
10. Add or adjust spacing
- Select Spacer.
- Select the new spacer inside the email.
- Adjust Spacer Height using the plus and minus controls or by entering a value.
- Check the spacing in Preview mode.
- Select Done.
Avoid excessive empty space, particularly because many customers will read the email on a mobile device.
11. Reorder email content
Each content block has a Position Number.
- Select the block you want to move.
- Find Position Number in its options.
- Use the position slider to move the selected item to the required position number.
- Check that the block moves to the correct place.
- Select Done.
A typical campaign could use:
- Title.
- Introductory image.
- Heading.
- Body text.
- Booking button.
Repeat the process until the email follows a clear order.
12. Remove content
- Select the block you want to delete.
- Select Remove in the block options.
- Confirm that the item has disappeared from the email.
Removing a block does not delete the entire campaign.
13. Preview the finished email
- Select Preview above the email.
- Read the campaign from beginning to end.
- Check the layout, spelling and colours.
- Select every button and verify its destination.
- Confirm that images display correctly.
- Return to Editor if changes are required.
Selecting an item in Preview mode may offer to return you to the Editor so the item can be changed.
14. Send a test email
- Select Send at the top-right.
- Select Test Send.
- Confirm or update the Email Subject.
- Enter the email address that should receive the test.
- Select Send.
- Open the test email in the recipient’s inbox.
- Check the subject, layout, images and buttons.
The test is sent only to the email address you enter, not to the campaign’s customer audience. If possible, review it on both a computer and a mobile device.
15. Return to a draft later
- Select Campaigns to return to the Marketing page.
- Select Drafts.
- Find the required campaign.
- Open its actions menu and select Edit, or select the campaign card.
Your saved content will reopen in the email builder. You can also select Duplicate to create a separate draft copy of an existing campaign.
16. Before selecting an audience
Confirm that:
- The internal campaign title is easy to recognise.
- The customer-facing subject is complete.
- The email has a clear purpose.
- The content has been proofread.
- All images display correctly and include useful Alt Text.
- Buttons have clear labels and valid destinations.
- The email has been checked in Preview mode.
- A test email has been received and reviewed.
When the email is ready, select Send and continue to audience selection. Do not confirm the final send until the recipient count and filters have been checked.
Sent campaigns are locked and cannot be edited. To reuse a sent campaign, duplicate it and edit the new draft.