


 All Articles
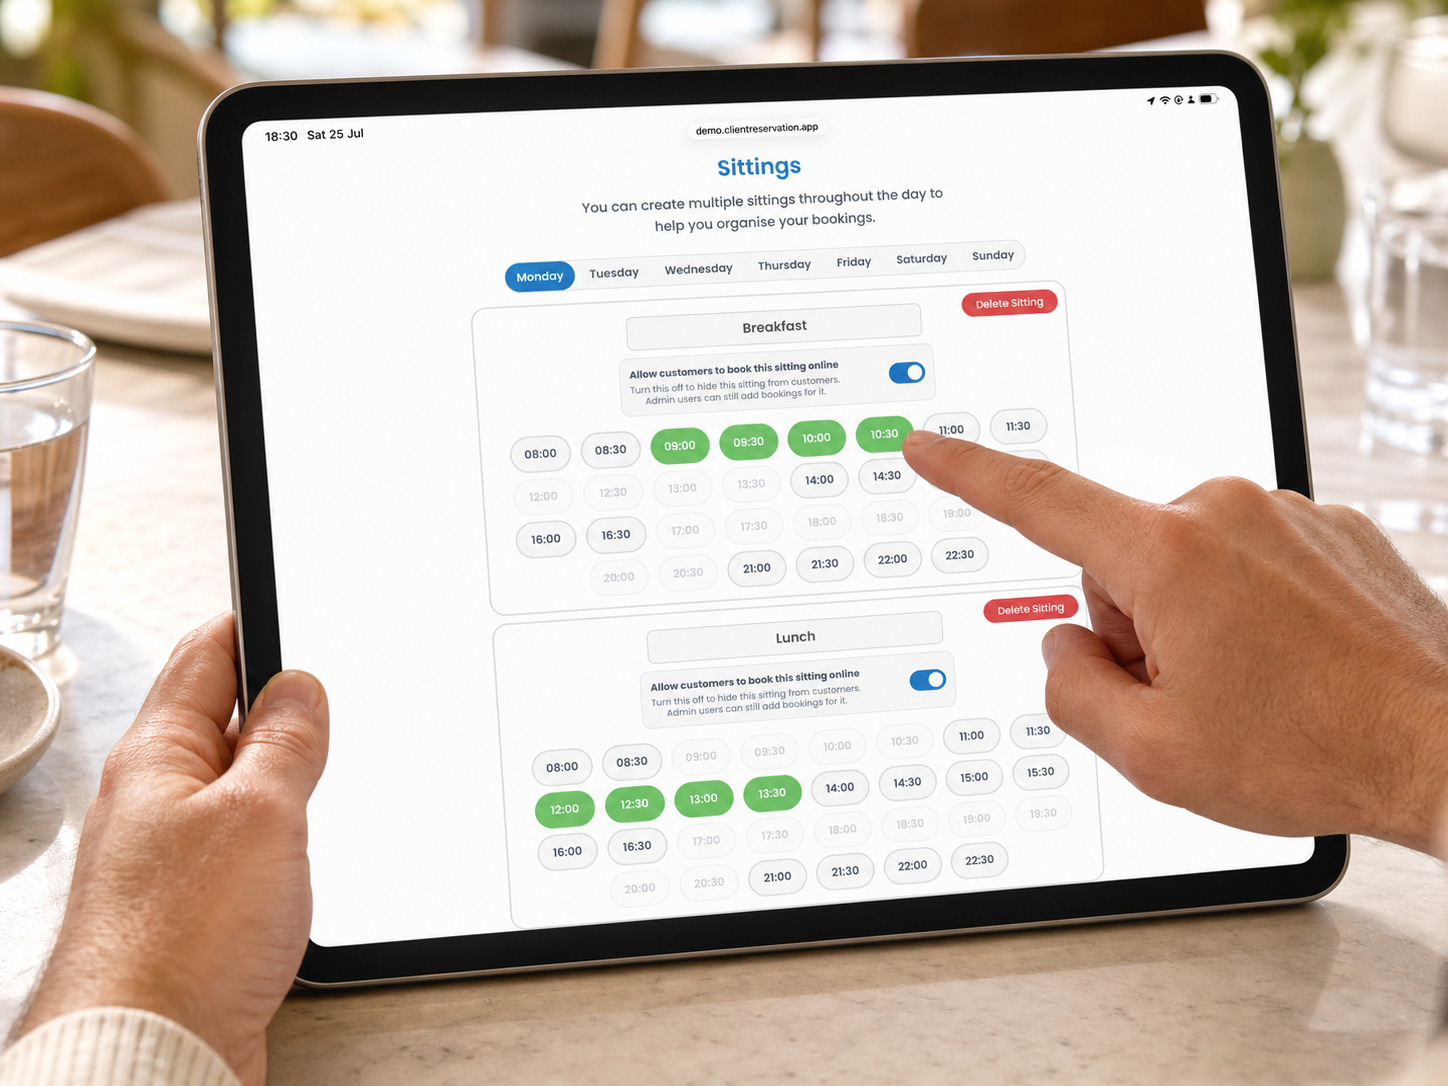
How to Create and Edit Sittings
Sittings divide a restaurant’s opening times into named booking periods, such as Lunch, Early Dinner or Late Dinner. They are configured separately for each day and restaurant venue.
You can also decide whether each sitting is available to customers through online booking. Admin users can continue adding bookings to a sitting even when its online booking option is turned off.
1. Open the Sittings settings
- From the Home screen, select Venue Preferences.
- Check the venue displayed in the selector at the top-right.
- Select the preferences menu at the top-left.
- Select Sittings.
- The Sittings page will open with Monday selected automatically.
Sittings are only available for restaurant venues. They are not required for beach venues because beach bookings cover the full day.
2. Change the selected restaurant
- Select the current venue at the top-right of the page.
- Find the required venue in the Choose a venue menu.
- Select Restaurant beneath its name.
- Confirm that the correct venue name and Restaurant type appear in the selector.
- The sittings saved for that restaurant will load automatically.
3. Create a sitting
- Select the day you want to configure: Monday, Tuesday, Wednesday, Thursday, Friday, Saturday or Sunday.
- Select + Add Sitting.
- A new sitting will be added for the selected day. It will initially be named Sitting 1, Sitting 2 and so on.
- Select the sitting-name field and replace the default name with a clear customer-facing name, such as Lunch or Dinner.
- Select outside the name field after editing it so the change is saved.
- Choose the booking times that should belong to the sitting.
New sittings are automatically enabled for online booking when they are created.
4. Add or remove times
The time buttons shown inside a sitting are taken from the restaurant’s Opening Times for the selected weekday.
- Select the required day.
- Find the sitting you want to edit.
- Select a time to add it to the sitting. The time will turn green.
- Select a green time again to remove it from the sitting.
- Repeat until the sitting contains all of the required booking start times.
Changes are saved automatically. A time can only belong to one sitting on the same day. Times already allocated to another sitting appear faded and cannot be selected. If you select an unavailable time, remove it from the other sitting before assigning it to the new one.
5. Add times that are not displayed
Only times already enabled under Opening Times are available when editing a sitting.
- Open the preferences menu at the top-left.
- Select Opening Times.
- Select the required weekday.
- Enable the missing booking time so that it turns green.
- Open the preferences menu again and return to Sittings.
- Select the same weekday and assign the newly available time to the appropriate sitting.
6. Show or hide a sitting in online booking
Each sitting has its own Allow customers to book this sitting online switch.
- Open Venue Preferences > Sittings.
- Select the required weekday.
- Find the sitting you want to change.
- Turn the switch on to allow customers to book that sitting online.
- Turn the switch off to hide the sitting from customers.
- When online booking is off, the sitting displays an Online booking turned off notice and is shown with a pale red background.
The switch applies only to that particular sitting on the selected day. Repeat these steps for other sittings and weekdays as required.
Turning this switch off does not delete the sitting or its allocated times. Admin users can still add bookings to it from within Client Reservation.
7. Edit sittings for other days
Sittings are managed independently for each weekday.
- Select another day at the top of the Sittings section.
- Review any sittings already configured for that day.
- Add, rename or delete sittings as required.
- Assign the correct times to each sitting.
- Check the online booking switch for every sitting.
- Repeat for the remaining days of the week.
Changes made to one weekday are not automatically copied to another.
8. Delete a sitting
- Select the weekday containing the sitting.
- Find the sitting you want to remove.
- Select Delete Sitting.
- Review the deletion warning.
- Select Delete to confirm, or Cancel to keep the sitting.
Deleting a sitting cannot be undone. However, it does not remove or close the restaurant’s underlying Opening Times for that day. Those times can be assigned to another sitting afterwards.
9. Before leaving the page
Confirm that:
- The correct restaurant venue is selected.
- Each sitting has a clear name.
- Every required booking time is assigned to the correct sitting.
- No time has been left in the wrong sitting.
- The online booking switch is set correctly for every sitting on every day.
There is no separate Save button. Sitting names, times and online-booking settings are saved as you change them.