


 All Articles
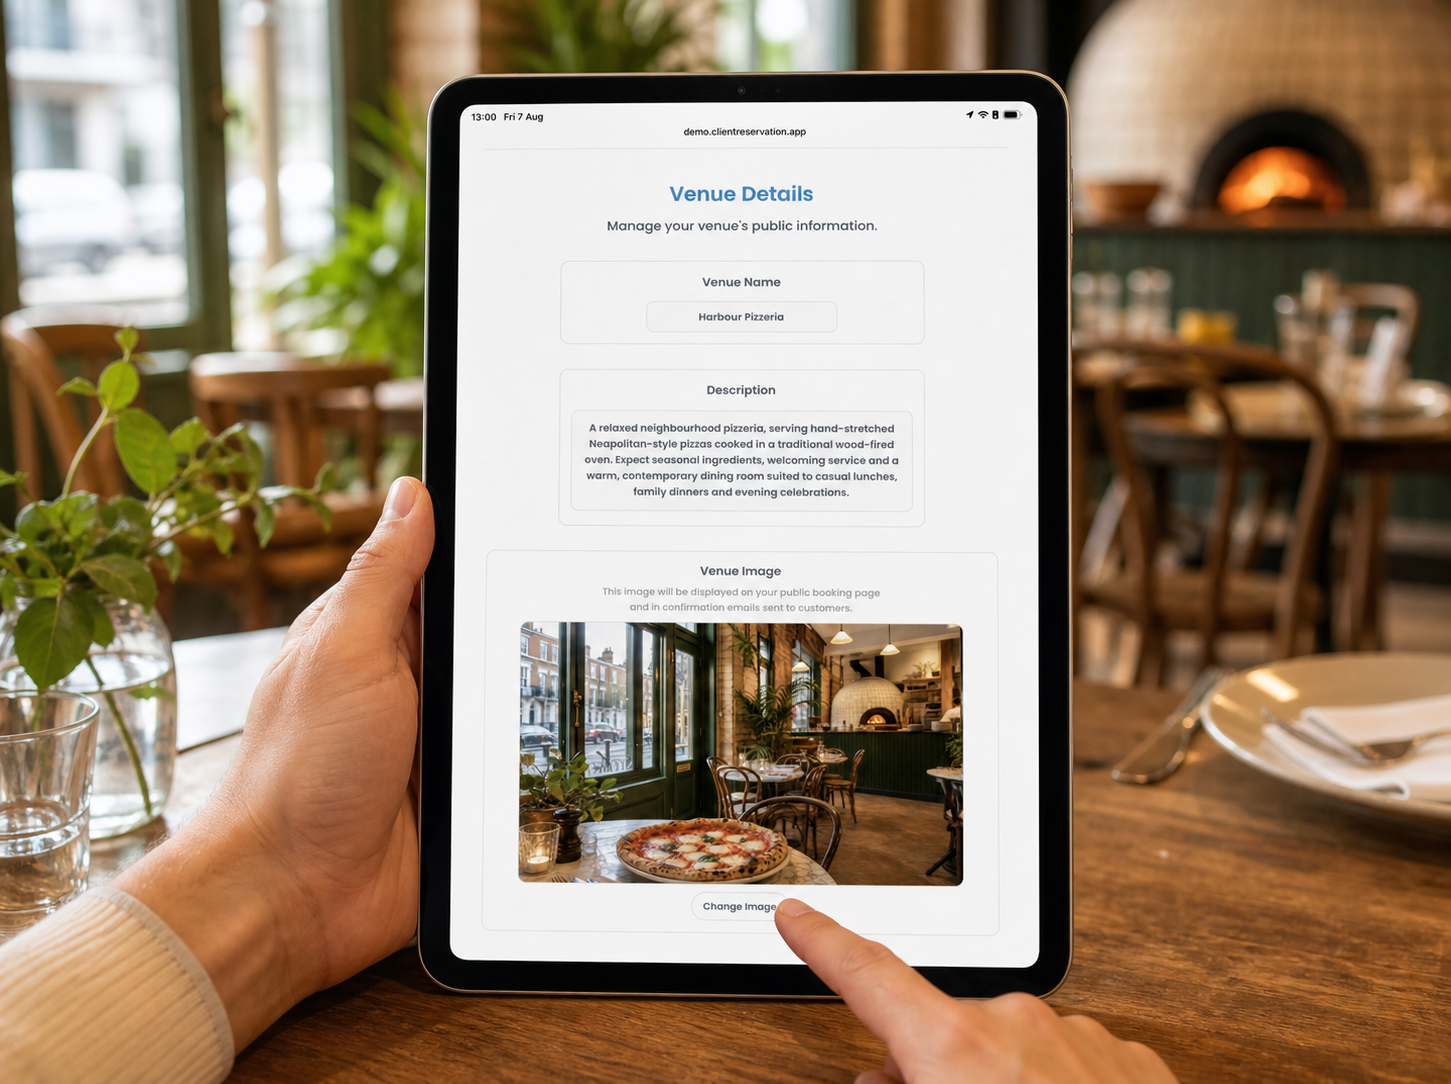
How to Edit Your Venue Details
The Venue Details section lets you update the public information customers see for each venue, including its name, description, image, booking terms and cancellation policy.
1. Open Venue Details
- From the Home screen, select Venue Preferences.
- Check the venue name and type shown at the top-right.
- Open the preferences menu at the top-left.
- Select Venue Details.
2. Change the selected venue
- Select the current venue at the top-right.
- Find the venue you want to edit under Choose a venue.
- Select Beach or Restaurant beneath its name.
- Confirm that the correct venue name and type now appear in the selector.
- The details saved for that venue will load automatically.
Only active venues that you have permission to edit are displayed.
3. Edit the venue name
- Find Venue Name.
- Select the field and enter the name customers should see.
- Wait for the Saved message before leaving the page or changing venues.
The selected venue’s name updates in the venue selector while you type.
Names for linked venues: When a beach and restaurant venue are linked, they share the same venue name. The page displays a message confirming this. Changing the name from either linked venue automatically updates the other one.
4. Edit the venue description
- Find Description.
- Enter a clear, customer-friendly description of the venue.
- Wait for the Saved message.
The description is specific to the selected venue. If your linked beach and restaurant areas require different descriptions, select each one and update it separately.
A useful description might briefly cover:
- The type of experience the venue offers.
- Its location or setting.
- Important information customers should know before booking.
- Any distinguishing features or facilities.
Keep the description concise and avoid placing detailed cancellation rules here. Those should be entered under Booking Terms and Conditions.
5. Upload a venue image
- Find Venue Image.
- Select the image area or Choose Image.
- Read the Image Safety Check notice.
- Select Choose Image to continue.
- Choose a JPG or PNG image from your device.
- Wait while the image is processed, uploaded and checked.
- Confirm that the image appears in the preview and the status changes to Saved.
The venue image appears on the public booking page and in booking-confirmation emails sent to customers.
Venue image requirements
- Use a JPG or PNG file.
- Animated GIF files are not supported.
- Only upload an image you own or have permission to use.
- Images are automatically checked against the platform’s content-safety requirements.
- An image that does not pass the safety check will not be applied.
The preview uses a wide, landscape-shaped area. A clear landscape image close to a 5:3 aspect ratio will usually give the best result. Keep important subjects near the centre because the image may be cropped to fit different screens.
6. Replace an existing venue image
- Select the current image or Change Image.
- Review the Image Safety Check notice.
- Select Choose Image.
- Choose the replacement JPG or PNG file.
- Wait for the upload and safety check to finish.
- Confirm that the new image appears in the preview.
The replacement image takes the place of the previous one after the upload is approved.
Images for linked venues: When a beach and restaurant venue are linked, the Venue Image section displays a message explaining that the image is shared between them. Changing the image for either linked venue updates the image used for the linked location as well.
7. Edit the booking terms and cancellation policy
- Scroll to Booking Terms and Conditions.
- Enter the terms that apply to bookings for the selected venue.
- Include the venue’s cancellation policy and any important booking conditions.
- Wait for the Saved message.
- Select Preview client terms page to check how the terms appear to customers.
The preview opens the customer-facing terms page for the currently selected venue in a new tab.
Consider including information such as:
- Cancellation and amendment rules.
- Deposit and refund conditions.
- Late-arrival or no-show policies.
- Age restrictions or supervision requirements.
- Venue-specific conduct or access requirements.
- Rules relating to tables, beach beds or other reserved resources.
Make sure the wording is accurate and appropriate for your business.
8. Add terms for linked venues
Booking terms are not shared between linked beach and restaurant venues.
- Select the Beach venue and enter its terms.
- Wait for the changes to save.
- Open the venue selector.
- Select the linked Restaurant venue.
- Enter and save the restaurant’s terms separately.
This allows each part of the venue to have its own booking and cancellation conditions.
9. Before leaving the page
Confirm that:
- The correct venue and venue type are selected.
- The venue name is accurate.
- The description is clear and customer-friendly.
- The correct image appears in the preview.
- The booking terms include the relevant cancellation policy.
- You have previewed the customer terms page.
- Separate terms have been added for each linked venue where required.
There is no separate Save button. Text changes save automatically after you stop typing, while image changes save after the upload and safety check are completed.