


 All Articles
How to Set a Venue’s Opening Dates
Opening Dates control which individual calendar dates are available for bookings at a venue. Each venue has its own calendar, so always confirm that the correct venue is selected before making changes.
Changes are saved automatically—there is no separate Save button.
1. Open the Opening Dates calendar
- From the Home screen, select Venue Preferences.
- At the top-left of the page, select the preferences menu currently labelled Venue Details or the name of another active section.
- Select Opening Dates from the menu.
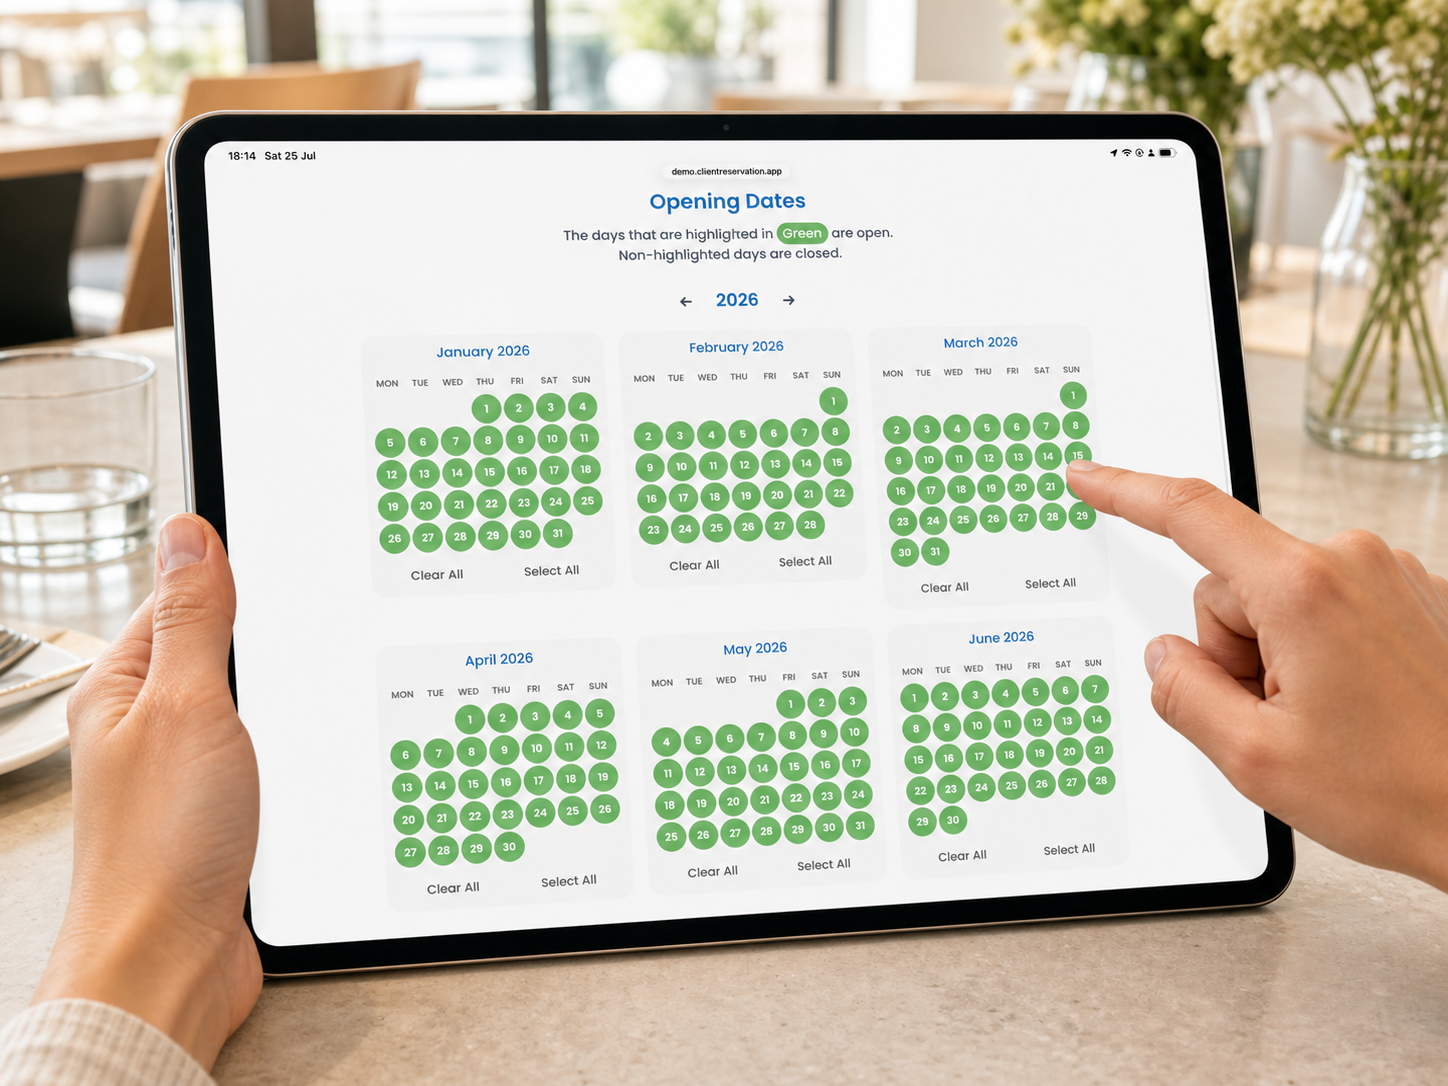
- The calendar will open on the current year and display all 12 months.
2. Select or change the venue
- Find the venue selector at the top-right of the Venue Preferences page. It displays the currently selected venue’s name and type.
- Select the current venue to open the Choose a venue menu.
- Find the venue you want to edit.
- Select Beach or Restaurant, depending on which part of the venue you need to update. Linked beach and restaurant locations are displayed together but have separate buttons and separate opening-date settings.
- Check that the correct venue name and type now appear in the selector.
- The Opening Dates calendar will refresh automatically using the dates saved for the newly selected venue.
Only active venues that you have permission to edit are shown in the venue selector.
3. Open or close individual dates
- Confirm that the correct venue is selected at the top-right of the page.
- Find the required month in the calendar.
-
Select a date to change its availability:
- A date highlighted in green is open and available for bookings.
- A date without a green highlight is closed.
- To open a closed date, select it once. It will turn green.
- To close an open date, select it again. The green highlight will be removed.
- Repeat this for any other dates you need to change.
Each selection is saved automatically as soon as you make it.
4. Open or close an entire month
Each month includes Clear All and Select All controls.
- Select Select All to mark every date in that month as open.
- Select Clear All to mark every date in that month as closed.
-
Check the calendar after using either option:
- Green dates will accept bookings.
- Non-highlighted dates will not accept bookings.
These bulk changes are also saved automatically.
5. Edit dates in another year
- Find the year displayed above the calendar.
- Select the left arrow to move to the previous year or the right arrow to move to the next year.
- Wait for the calendar to refresh with the opening dates already saved for that year.
- Select individual dates, or use Clear All and Select All for a complete month.
- Use the year arrows again if you need to update another year.
6. Emergency-closure dates
Dates surrounded by a red border were closed using the Emergency Closure feature. This marker identifies dates affected by an emergency closure and is separate from the normal green opening-date highlight.
If you need to manage an emergency closure or notify affected customers, use Home > Management > Emergency Closure.
7. Before leaving the page
There is no Save button because every change is stored automatically. Before leaving, confirm:
- The correct venue and venue type are displayed at the top-right.
- Every date that should accept bookings is highlighted green.
- Every date that should remain closed is not highlighted green.
Changing to another venue or another preferences section does not require you to save first.